File Sharing/Uploading Guide
Prerequisites
- Log in to my.excelinstallations.net with your account info (image 1).
- Navigate to the ‘> Files’ page from the navigation menu (image 2).
- If it asks you to log in again, please do so. It is a safety measure to ensure you have access to sensitive information.
- After navigating to the ‘Files’ page, you will be given a display that looks like (image 3)
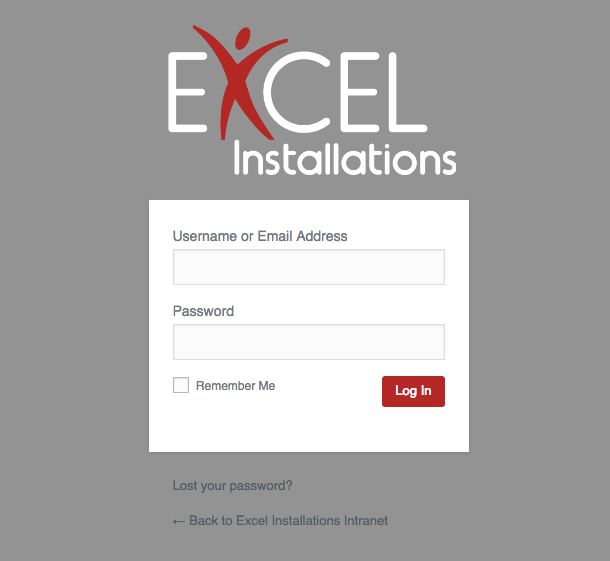
Image 1
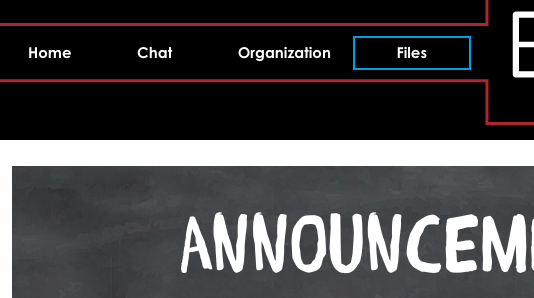
Image 2
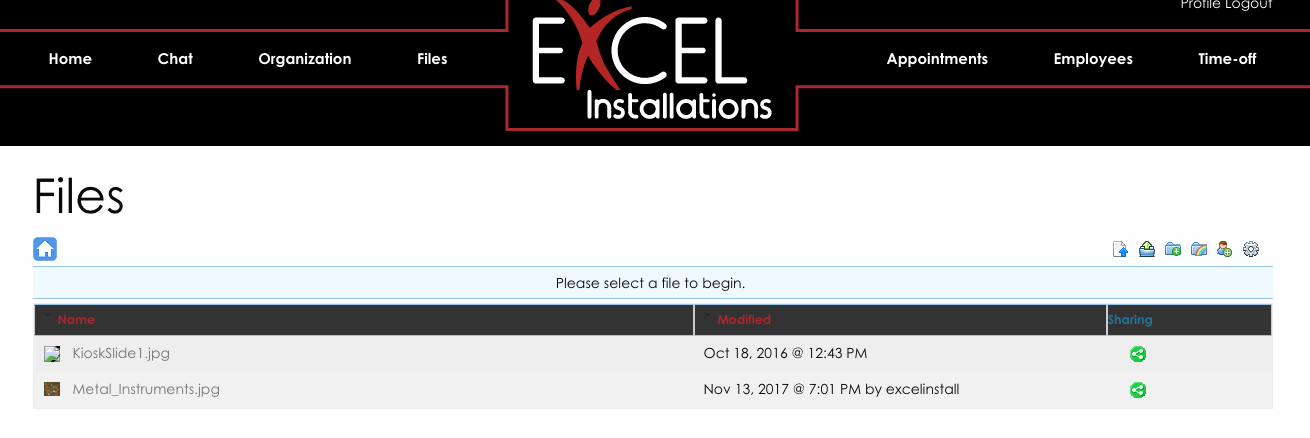
Image 3
The Icons (along the top)
- The home icon – far left (image 4)
- This button will bring you back to the file directory (refer to image 3)
- The list of files on the site will be displayed in list format.
- The Set of 6 Buttons – far right (image 5)
- These buttons are based on privileges – only displayed to some users.
- In Order: Upload file, Upload archive, Create Folder, Shared with me, Default Permissions, Options
- If you do not see them, do not worry.
- SELECT A FILE
- Once selected, these options will be displayed (image 6)
- Once again these might be dependent on the permissions your type of user has
- Rename, Delete, Share, Download, Copy, Permissions
- An alternative way of sharing files (image 7)
- NOTE: these options are not along the top but rather in the right-most column of each file’s row
- This sharing button has the same icon and displays the same menu as the one in image 6
Image 4
Image 5
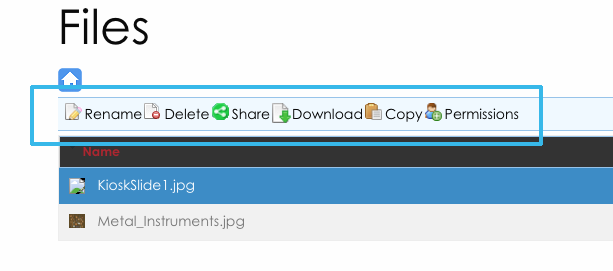
Image 6
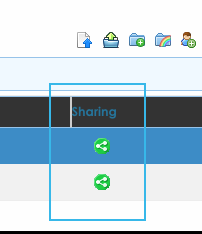
Image 6